How To Replace Ear Pads on Beats Solo 4 Headphones
 Buy Beats Solo 4 Ear Pads Here:
https://fixheadphones.co.uk/product/beats-solo-4-replacement-ear-pads/


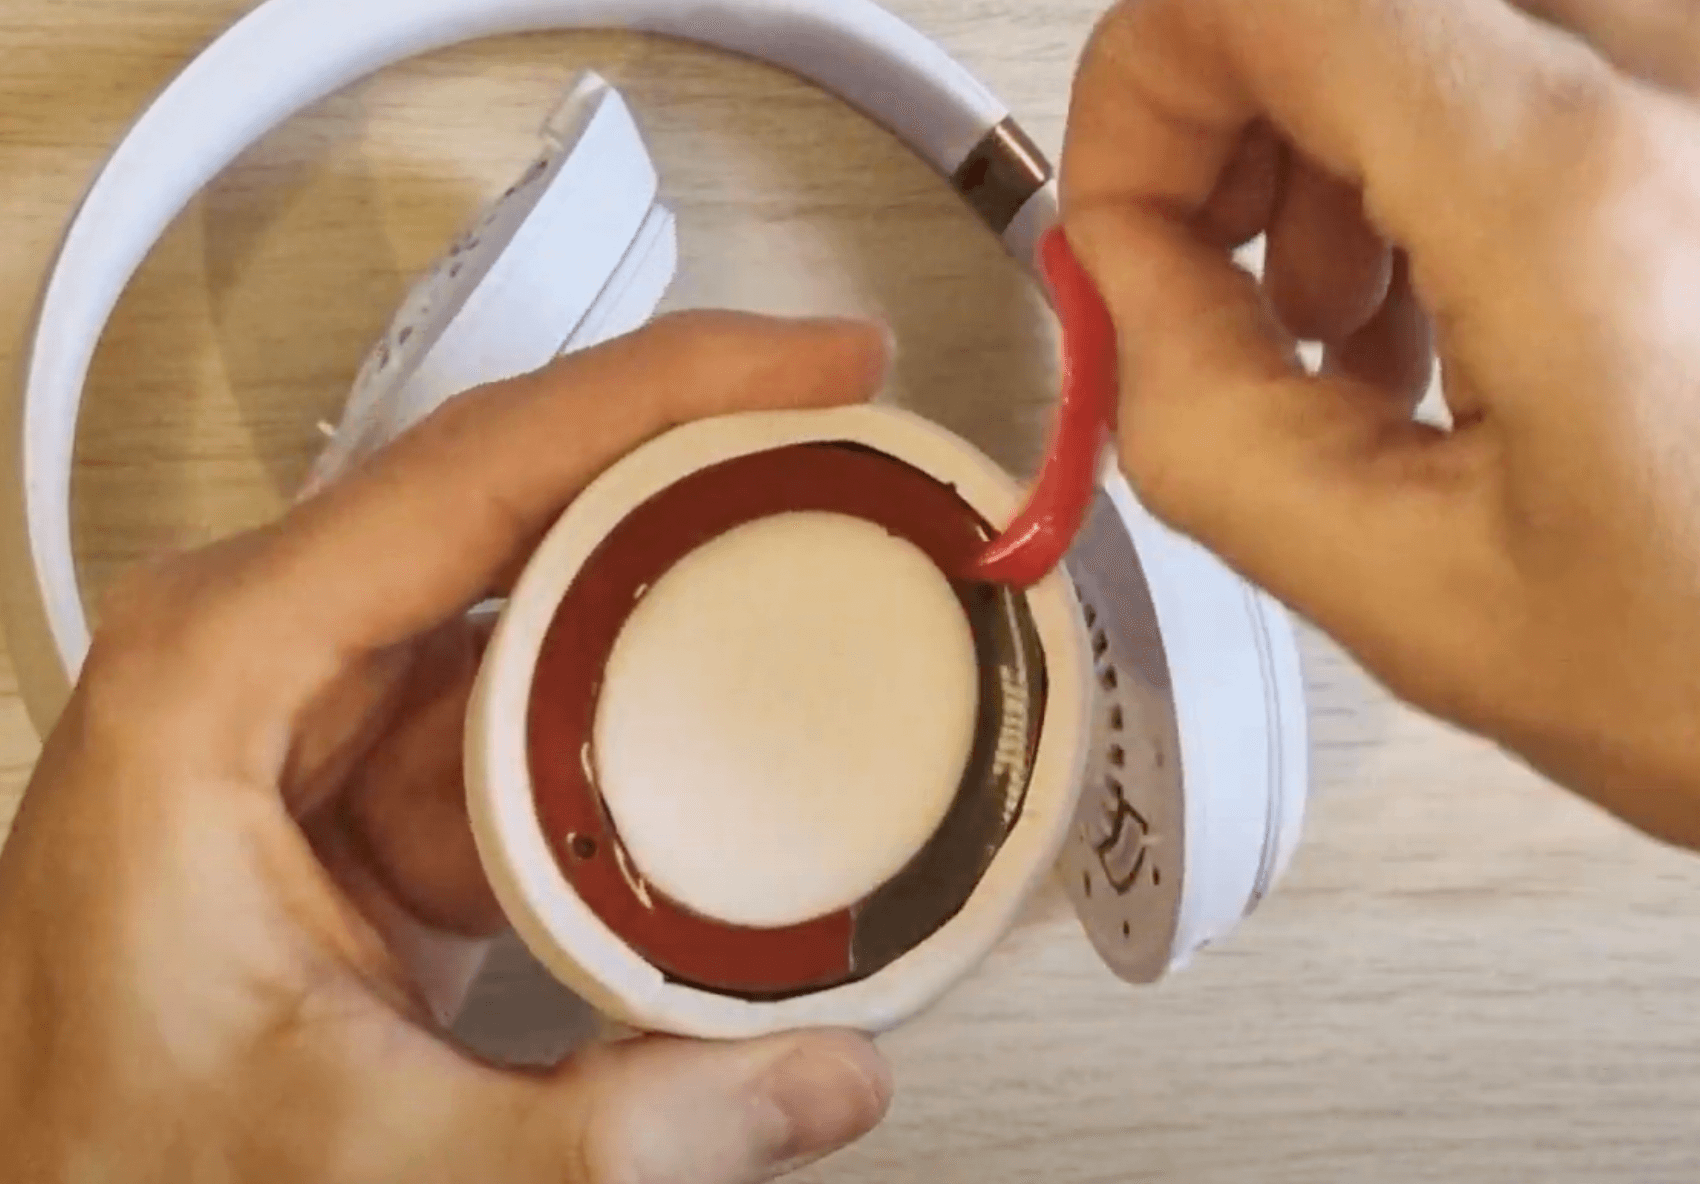
1. Use your tool and insert it in-between the ear pad and the ear cup
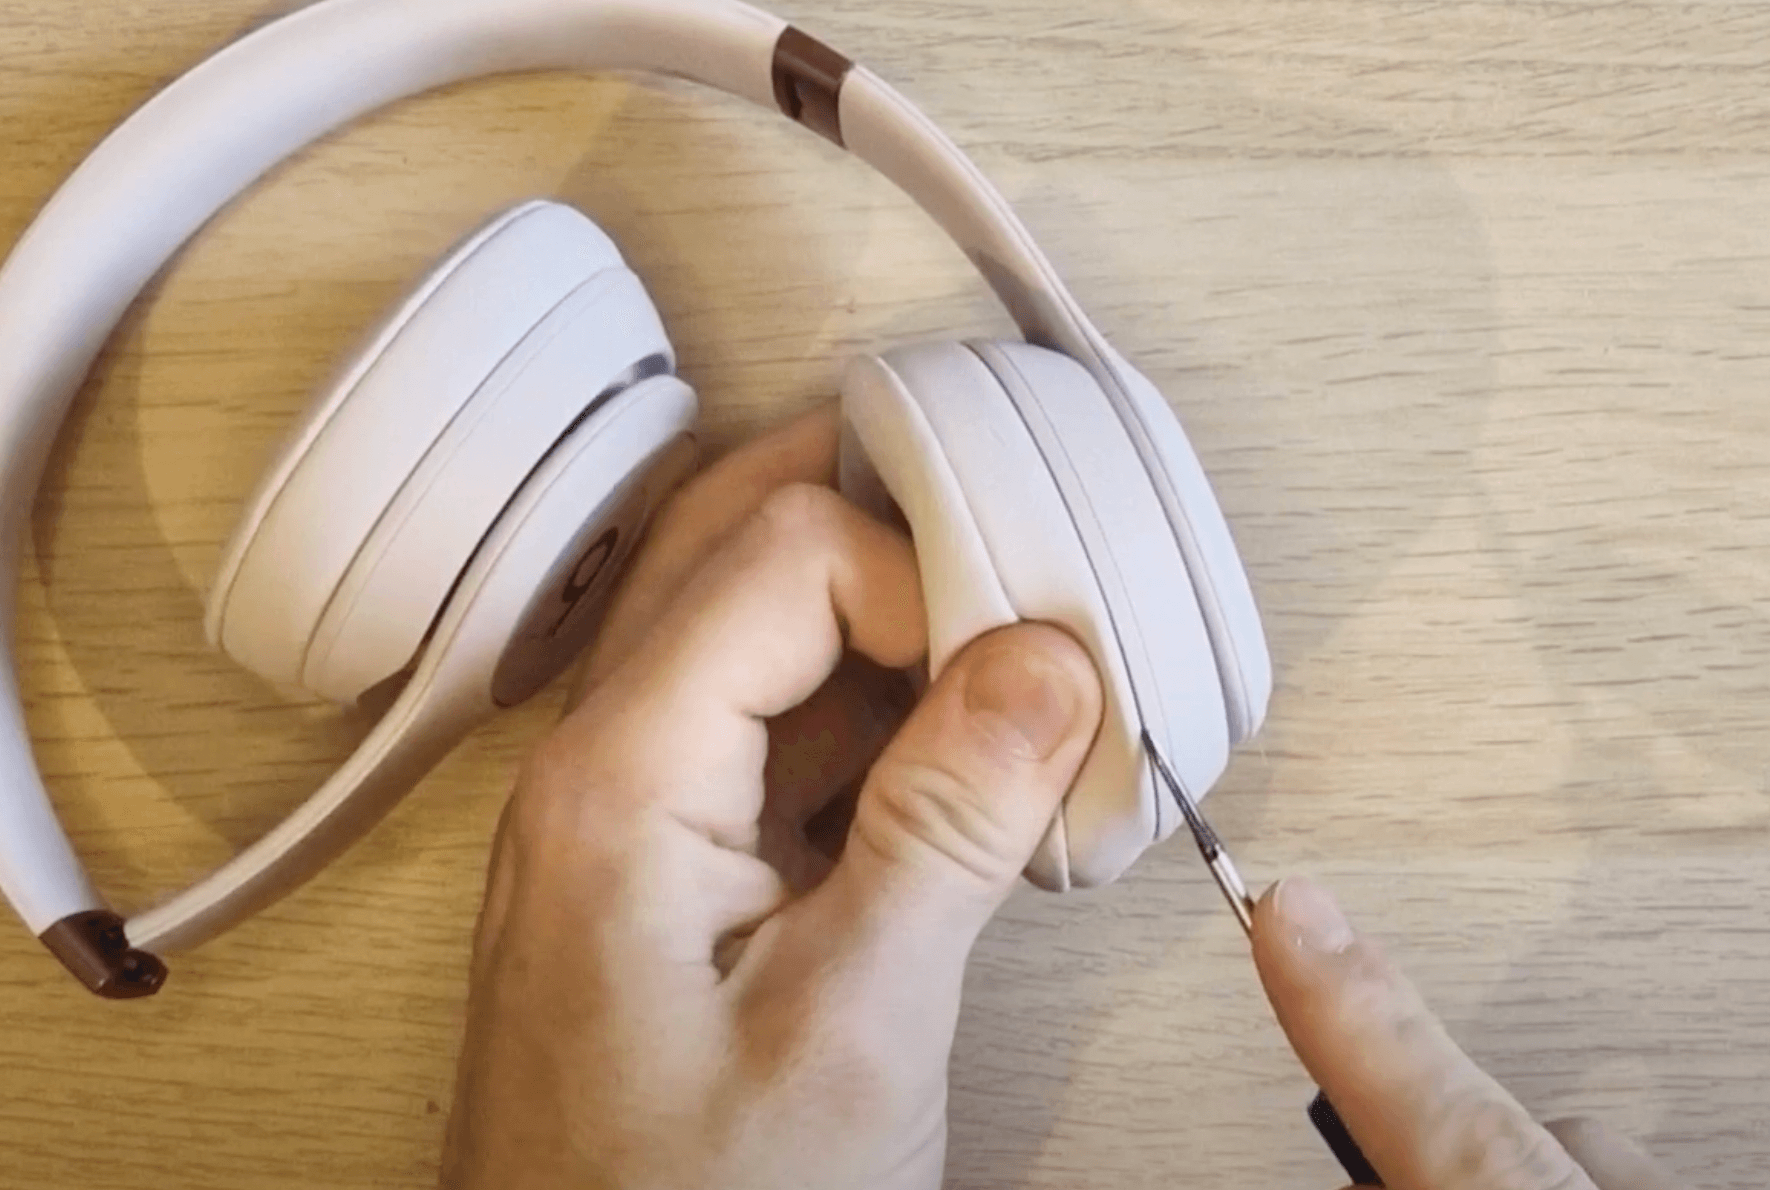
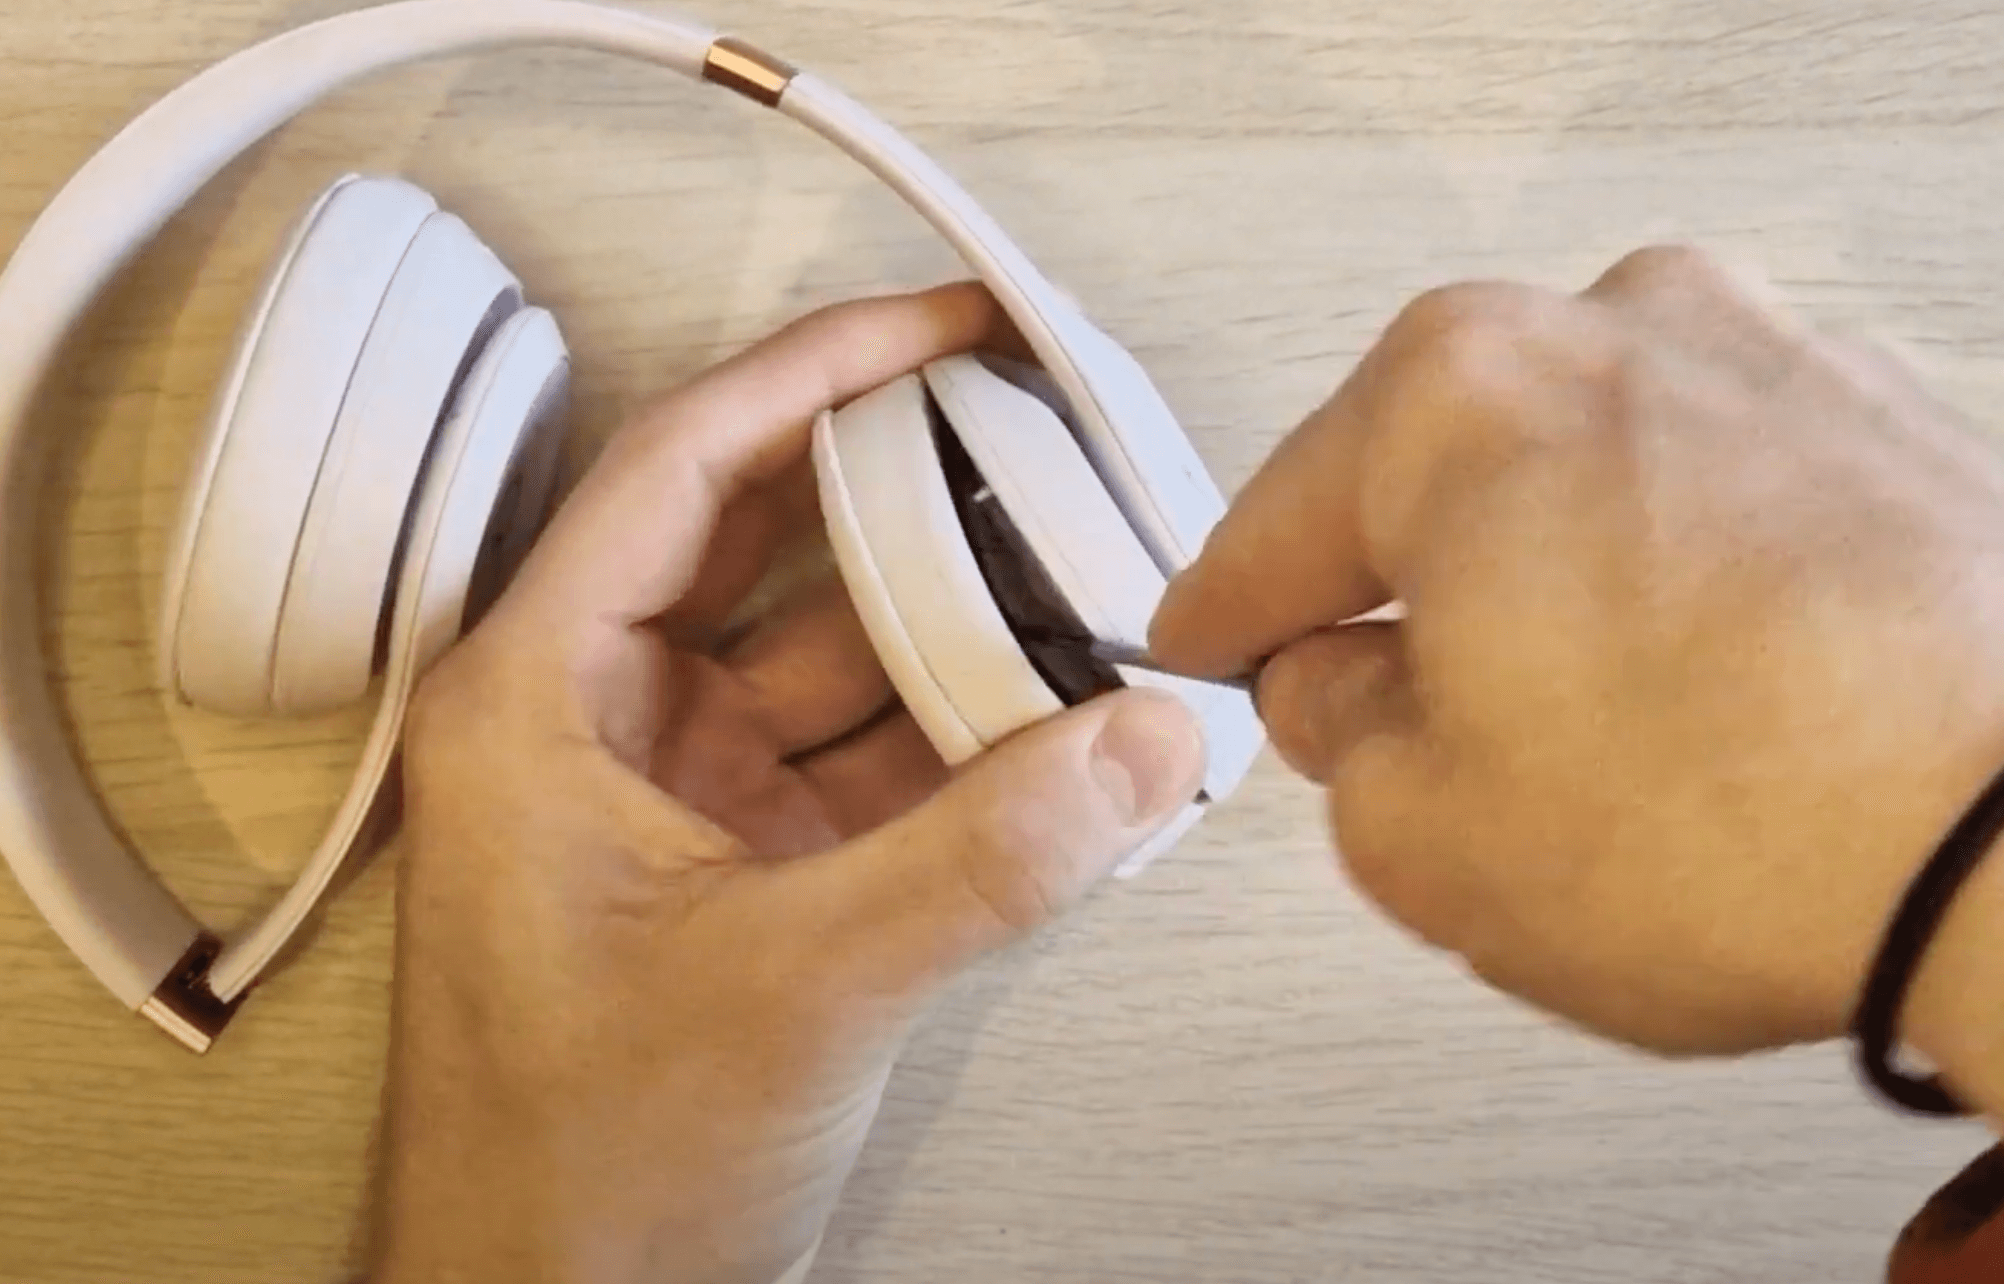
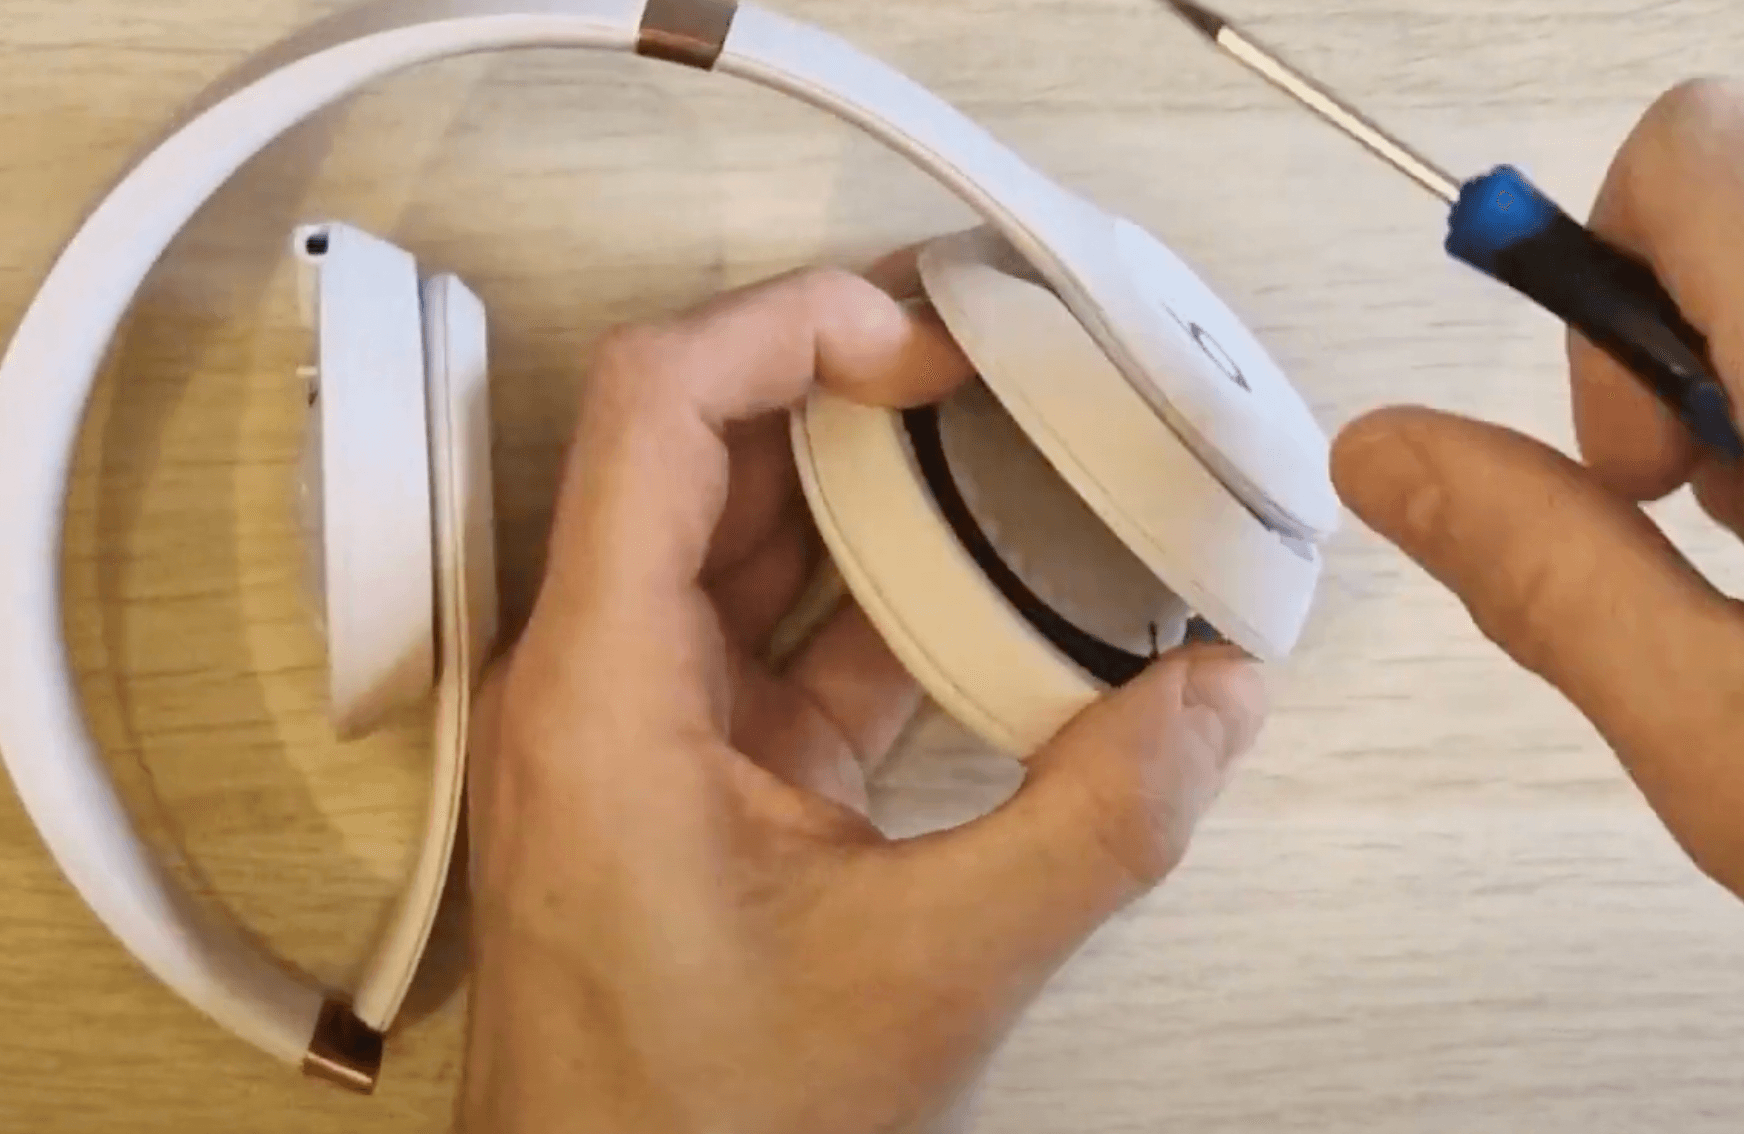
2. Use the tool as a level and push the ear pad away from the ear cup until you can remove them entirely with your hands.
3. Repeat this with both sides
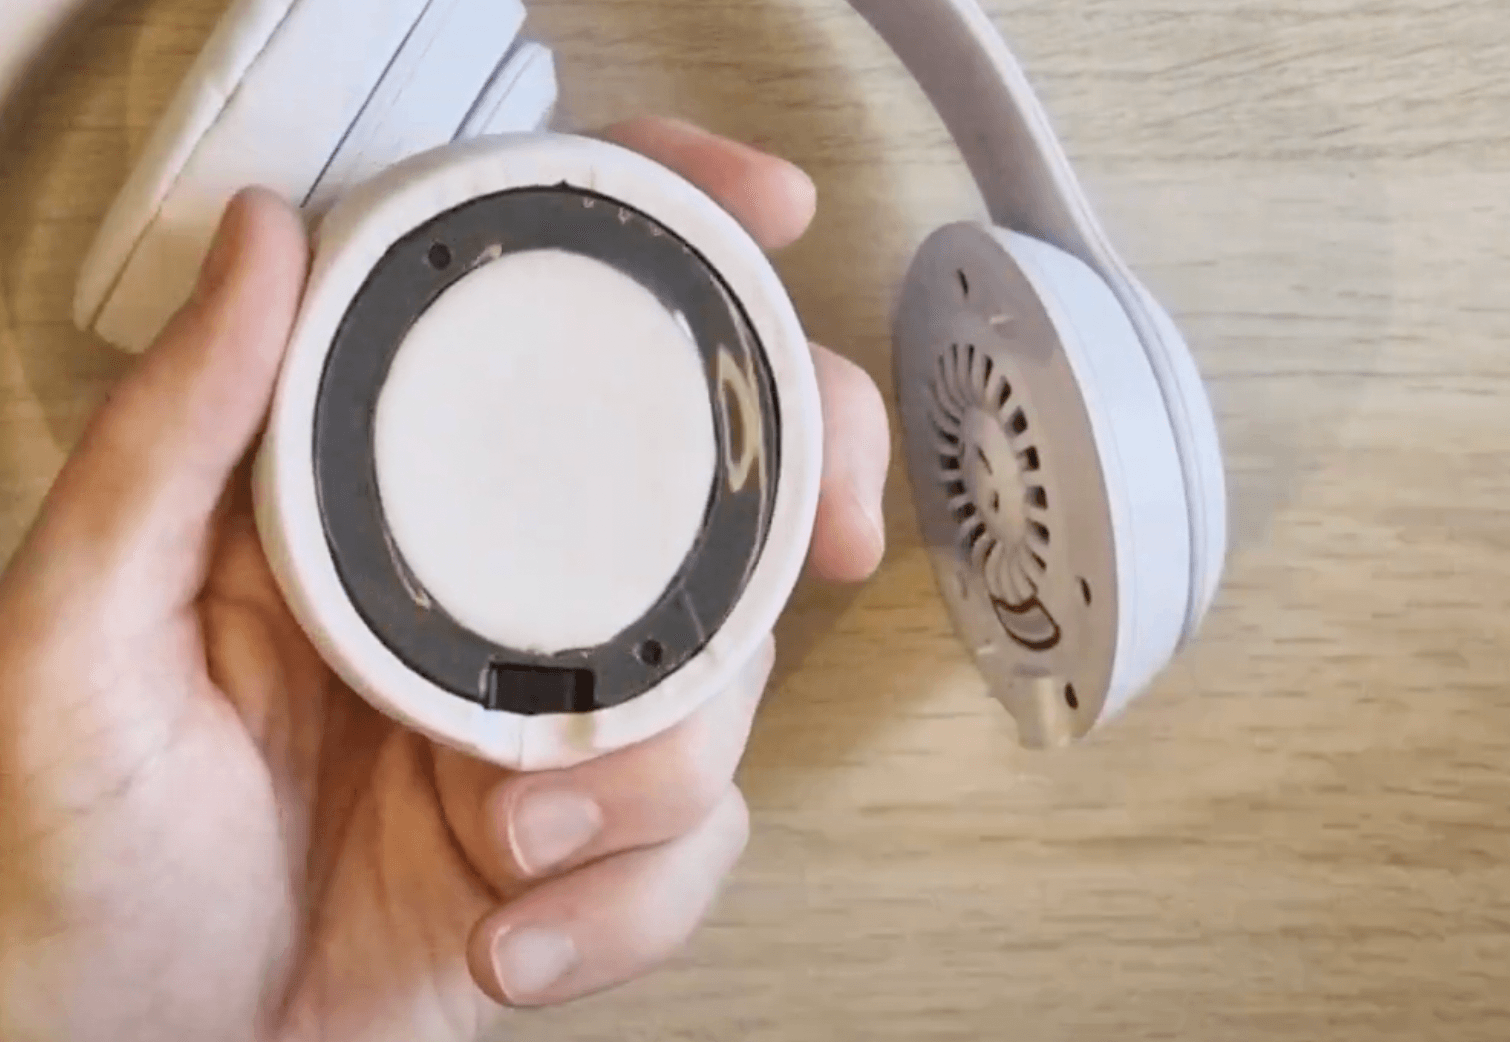
4. Now locate which ear pads is the left & the right by recognising which side has the space for the charger port on the right hand side. The new USB-C charger port is the only thing that makes these ear pads not compatible with the previous Solo 3 model.
5. Remove the cover of the adhesive tape of your replacement ear pads, locate where the two 'prongs' of the ear cup will fit into the holes in the ear pad & position it accordingly. Apply pressure for roughly 10-15 seconds.
6. Complete this with both sides & that's the repair complete.
How To Replace Ear Pads on Beats Solo 4 Headphones
 Alternatively, place an order for a Beats Solo 4 Ear Pad replacement service:
In this simple, step-by-step tutorial, I’ll show you how to replace the ear pads on your Beats Solo 4 Wireless headphones. Whether your current pads are worn out or you're just looking to refresh the look and feel of your headphones, this guide will help you get the job done quickly and easily.
What you’ll need:
Replacement ear cushions
A small flathead screwdriver (optional)
Patience and a little time!
We’ll cover everything from safely removing the old ear pads to installing the new ones, so you can enjoy your favourite music or podcasts in comfort again. No need to splash out on a new pair – with this simple fix, your Beats Solo 4 headphones will feel as good as new!